From Mud to Stoneware: What Actually Happens Inside the Ceramic Kiln?
Unlocking the Mystery of the Studio Kiln
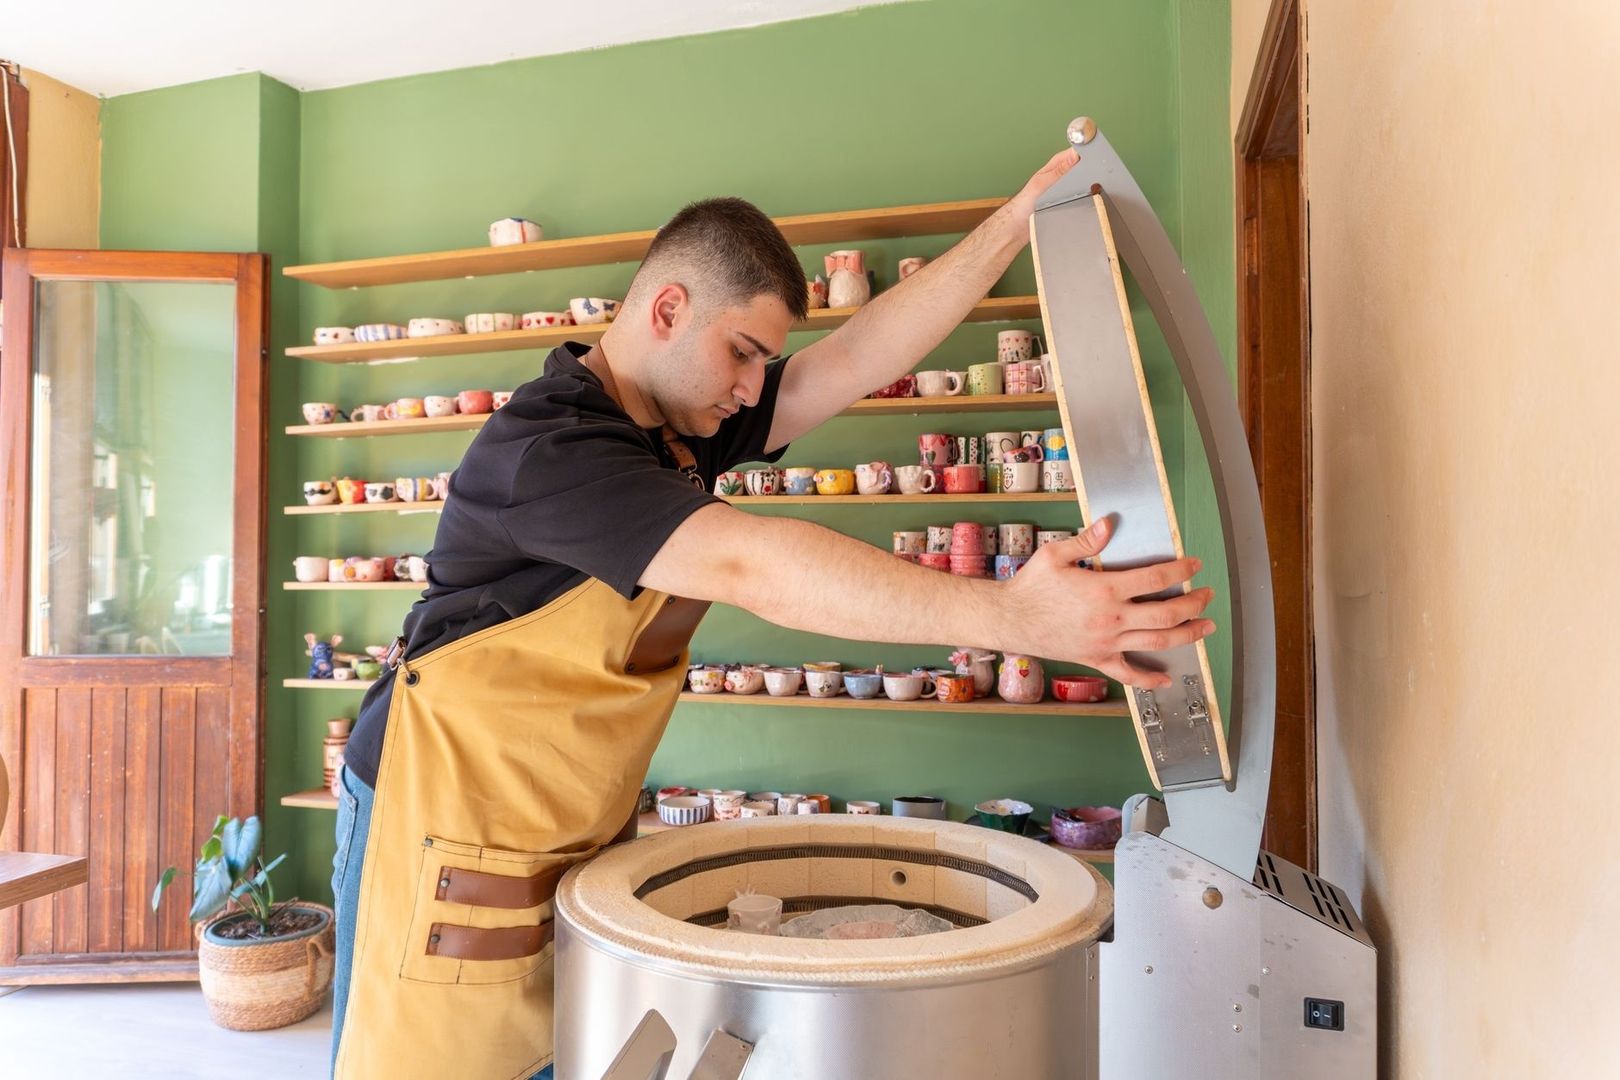
In a community ceramics studio, the kiln can seem like a sealed black box. Greenware disappears behind a heavy lid, several hours pass, and the results emerge transformed, sometimes with a brilliant glaze, sometimes with a crack that demands careful investigation. That uncertainty is understandable, but firing is not arbitrary. Every stage follows physical and chemical rules, and learning those rules makes the kiln a more readable, collaborative part of the studio rather than a source of anxiety.
Fresh clay feels like fragile mud because it is still a mixture of mineral particles, water, air, and organic material. Heat gradually drives off moisture, burns away impurities, rearranges mineral structures, and finally encourages glass-forming materials to seal the body. The result is permanent: once clay has been fired, it cannot simply be returned to its original plastic state. As outlined in this ceramic composition guide, those changes explain why traditional ceramics move from workable earth to durable stone. For beginners, thermal science offers a useful bridge between an ancient craft and the carefully controlled pottery practiced in modern studios.
The Danger of Trapped Water and the Slow Climb to Red Heat
Before a kiln reaches a visibly glowing red temperature, it must deal with the most immediate danger in a clay object: water. Greenware contains atmospheric or physical water held between particles and inside pores. It also contains chemically bound water within the clay minerals themselves. These are not removed in the same way. Physical moisture can evaporate during drying and early heating, while chemically bound water leaves later, as the mineral structure is altered by heat.
The critical warning point is the familiar boiling threshold of 212 degrees Fahrenheit, or 100 degrees Celsius at standard atmospheric pressure. If water remains trapped in a thick base, sealed cavity, or damp interior, it can turn rapidly into expanding steam. Clay is not yet strong enough to contain that pressure, so the piece may crack, lift apart, or explode. The damage can extend beyond one object, scattering fragments across shelves and potentially damaging neighboring work or kiln furniture.
A reliable firing begins well before the kiln is switched on. Bone-dry clay should feel neutral rather than cool against the cheek, although studio technicians should always make the final safety decision. Drying must be gradual and even, especially for large forms, thick joins, enclosed sections, and pieces with uneven walls. A practical checklist includes:
- Allowing work to dry slowly and evenly, away from strong heat or direct drafts.
- Checking thick bases, handles, joined parts, and hollow forms for hidden dampness.
- Avoiding sealed cavities unless they have a properly designed opening or vent.
- Keeping walls and floors as consistent in thickness as possible during construction.
- Informing the technician about unusually thick, large, or repaired pieces before loading.
Good drying is also a design decision. A form that looks elegant on the worktable may behave unpredictably in the kiln if its thickness changes abruptly. Trimming at the leather-hard stage, compressing the base, and joining parts carefully all reduce later stress. In a shared studio, these habits protect not only the maker”s work but also the shelves, kiln elements, and projects belonging to the wider community.
Inside the Bisque Firing and Burning Off the Past
The first firing is called bisque firing. It commonly reaches cone 06 to cone 04, approximately 1,828 to 1,945 degrees Fahrenheit, depending on the clay body and the studio schedule. During the climb, remaining physical water is removed first. As the temperature rises, organic matter burns away, followed by the breakdown of carbonates and the release of other volatile materials. These changes are why ventilation and a controlled firing schedule matter: the kiln is not merely warming clay, it is processing a complex mineral and organic mixture.
One important event occurs around 1,060 degrees Fahrenheit, when quartz undergoes an inversion. The silica structure shifts, producing a small but significant physical expansion. On cooling, the reverse change occurs. If the piece contains uneven thicknesses, sharp transitions, or pre-existing weaknesses, this movement can contribute to cracking. The kiln does not need to be feared, but it does need to be respected as an environment where a few degrees, the speed of change, and the shape of an object can interact.
During bisque firing, clay particles begin to sinter, meaning they bond more firmly without fully closing all the pores. Studio technicians generally stop at a relatively low bisque temperature so the result remains strong enough to handle but porous enough to absorb glaze. A bisque-fired pot should no longer be soft or water-soluble, yet it should still accept a coating rather than repel it. The fundamental changes in mineral structure and ceramic properties are explained in this firing fundamentals guide, which also distinguishes the preparation role of bisque from the sealing role of glaze firing.
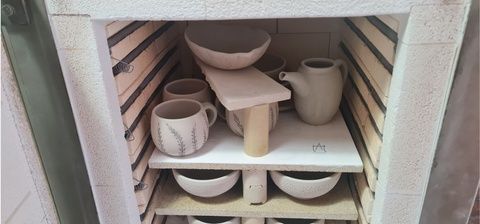
- Drying and candle warming: Residual physical water leaves gradually, reducing the risk of steam pressure.
- Early decomposition: Organic materials and other volatile compounds begin to burn or escape.
- Quartz inversion: Silica changes structure near 1,060 degrees Fahrenheit, causing measurable expansion.
- Dehydroxylation: Chemically bound hydroxyl groups leave the clay minerals, making the transformation irreversible.
- Sintering: Particles bond into a firm ceramic body while enough porosity remains for glaze application.
- Bisque completion: The piece is stable and handleable, but not yet fully waterproof or mature.
A Stage by Stage Guide to Kiln Temperatures
Temperature milestones are useful, but they should be understood as parts of a continuous process rather than isolated switches. The kiln begins by warming the work gently, then moves through steam release, organic burnout, mineral decomposition, quartz inversion, and sintering. During a later glaze firing, the temperature rises far enough for fluxes and silica to form a molten glass phase. The exact schedule depends on the clay body, glaze, kiln, loading pattern, and desired result.
| Approximate stage | Main physical or chemical event | Why it matters |
|---|---|---|
| Room temperature to 212°F | Physical moisture evaporates | Trapped water must leave without becoming destructive steam |
| Above 212°F to around 700°F | Remaining moisture and volatile materials escape | Slow heating helps prevent cracking and pressure buildup |
| About 700°F to 1,600°F | Organic matter, carbonates, and sulfur-bearing compounds burn off or decompose | The clay body becomes cleaner and more stable |
| Near 1,060°F | Quartz inversion produces expansion | Uneven forms can experience stress during expansion and later contraction |
| Cone 06 to cone 04 | Bisque body sinters while remaining porous | The surface can absorb glaze without the object being raw clay |
| Cone 5 to cone 10 | Glaze melts and the clay body may vitrify | The finished piece develops its mature strength, absorption, and surface |
Pyrometric cones provide a more meaningful measure than a thermometer alone. A cone bends in response to heat work, the combined effect of temperature and time. Two firings can reach a similar peak temperature but deliver different results if one climbs faster, holds longer, or loses heat differently. Cones therefore help technicians confirm whether the ware experienced the intended firing conditions. They are especially valuable in community studios, where kiln behavior can vary with loading density, element age, and ventilation.
The Glaze Firing and the Alchemical Birth of Stoneware
After bisque firing, a pot may be coated with glaze, a carefully formulated mixture of powdered minerals, silica, alumina, and fluxes. Silica is the principal glass former. Fluxes lower the temperature at which glass can develop, while alumina helps control viscosity and stability. As the kiln reaches glaze-firing temperatures, these ingredients soften and melt, reacting with one another and with the surface of the clay. What began as a dry powder becomes a continuous glassy coating.
The glaze firing generally reaches cone 5 to cone 10, approximately 2,167 to 2,345 degrees Fahrenheit, though the correct temperature is determined by the particular clay and glaze system. At peak temperatures, the clay body itself may vitrify as glass-forming materials move into and close its pores. Vitrification means that a porous mineral body becomes denser and less absorbent through the development of a glass phase. This overview of vitrification provides useful background on the broader process by which materials become glass-like. At peak temperatures, the clay body undergoes full vitrification, transforming into a dense, non-absorbent stoneware ready for everyday functional use, provided the clay and glaze have been tested for compatibility and food safety.
Cooling is not an afterthought. As the kiln temperature falls, glaze and clay contract, and different materials may contract at different rates. A rushed or uneven cooling period can cause dunting, delayed cracks, or glaze defects associated with thermal stress. Technicians may therefore keep the kiln closed until the ware reaches a safe handling temperature. Finished pottery should also be evaluated rather than assumed to be functional. A beautiful surface does not automatically mean a piece is suitable for food contact or repeated heating.
- Use a glaze tested for the specific clay body and firing temperature.
- Keep glaze off the foot and any surface that touches the kiln shelf.
- Apply an even coating, since excessive thickness can encourage crawling, running, or shivering.
- Record clay, glaze, application thickness, firing cone, and visible results.
- Allow the kiln to cool according to studio policy before opening or unloading.
Stoneware is not defined only by a number on a kiln controller. Different bodies vitrify at different temperatures, and the final result depends on formulation, particle size, firing atmosphere, time, and cooling. Testing tiles and small sample forms make those variables visible. Over time, records turn surprises into useful information and help makers choose forms and surfaces with greater confidence.
Embrace the Heat and Transform Your Studio Practice
A successful firing is a shared studio achievement. Kiln technicians read schedules, load shelves with care, monitor cones, and make decisions that protect many makers” work at once. Their expertise is part of the quiet infrastructure of community pottery, just as important as the wheels, wedging tables, glaze room, and teaching sessions that make creative access possible. Respecting the firing rhythm means allowing work to dry fully, labeling pieces clearly, and accepting that a kiln cannot be hurried without consequences.
Once the stages become familiar, the kiln feels less like an unpredictable machine and more like a collaborator with precise conditions. Drying, trimming, joining, glazing, and loading all prepare a form for its passage through heat. Understanding steam release, quartz movement, dehydroxylation, sintering, and vitrification allows beginner ceramicists to make safer choices and design more thoughtfully. The final stoneware vessel is not simply clay that has been heated; it is the visible record of careful preparation, mineral change, controlled energy, and shared craft knowledge.