First Cuts and Community Inks: Finding Your Rhythm in a Shared Printmaking Studio
Stepping Across the Inky Threshold
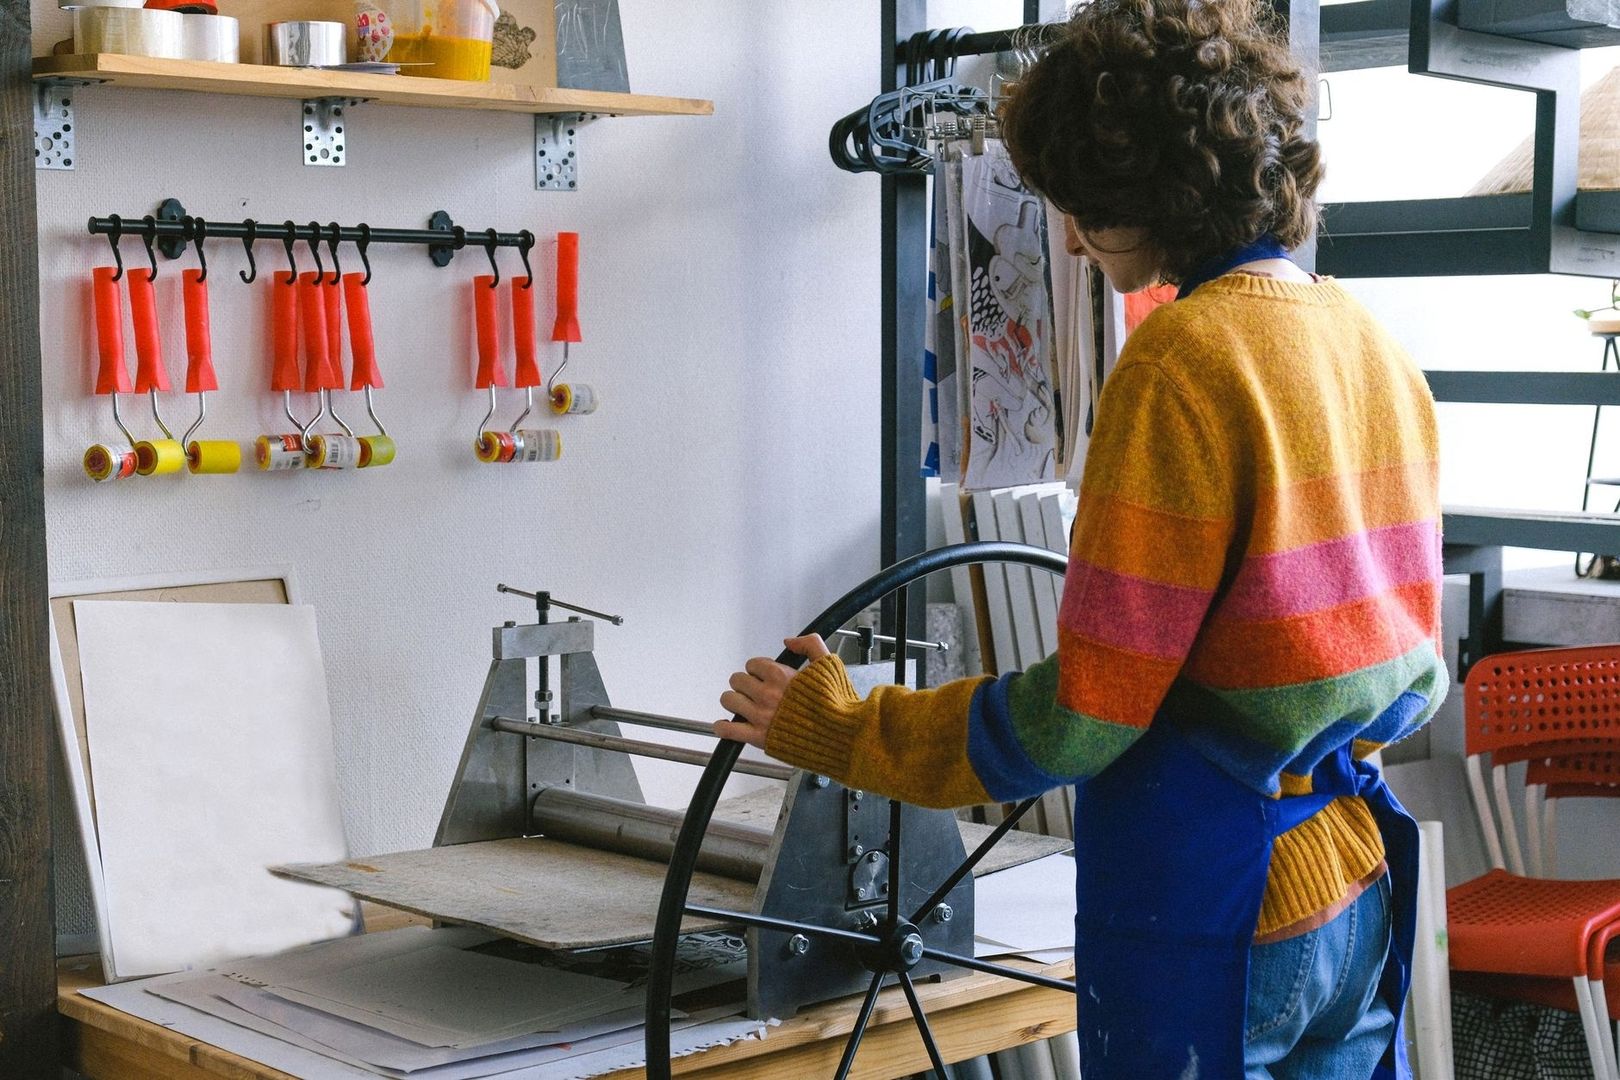
A shared printmaking studio announces itself through the senses before the process becomes clear. There may be the distinctive smell of linseed oil, the gentle scrape of a gouge moving through linoleum, and the rhythmic clanking of a press being operated across the room. Paper shifts on drying racks, brayers roll over glass slabs, and conversations move easily between technical questions and ordinary studio life. For a beginner, this atmosphere can feel both inviting and intimidating. The equipment appears purposeful, the gestures practiced, and the surfaces marked by years of creative work.
That first impression can make linocut seem like an exacting industrial chore, but relief printing is remarkably accessible. Its essential actions are direct: draw, carve, ink, and transfer. Mistakes become part of the learning process, while the physical work gives ideas a visible and tactile form. In a communal studio, the craft is also shared. A nearby artist may explain how to steady a block, suggest a better paper, or help identify why an impression looks weak. The studio becomes less a test of expertise than a place where confidence develops through patient repetition and generous exchange.
Understanding Relief Printing and the Community Studio Spirit
Linocut is a form of relief printing. The artist begins with a linoleum block and removes the areas intended to remain unprinted. What is left standing forms the raised matrix, or printing surface. Ink is rolled across that surface with a brayer, while the carved recesses remain largely free of ink. Paper is then placed over the block and pressed by hand, with a spoon or baren, or through a press. The resulting image is reversed from the original design, so lettering and directional imagery require particular care during preparation.
This simple principle creates a wide range of visual possibilities. A narrow V-gouge can produce delicate lines, while a U-gouge can open broad channels and soften large areas of negative space. The artist is not painting every visible mark. Instead, the image emerges through a deliberate conversation between what is retained and what is removed. That relationship gives linocut its characteristic boldness, texture, and graphic clarity. Beginners can start with a modest block, a small selection of tools, relief ink, paper, and a method of applying pressure.
Shared studios extend this practical process into a living workshop tradition. Printmaking has long depended on cooperation because presses, drying areas, cutting supports, inks, and specialist knowledge are often shared. In a contemporary open-access studio, that heritage appears in everyday gestures: artists compare test prints, explain how to clean a slab, lend a tool, or troubleshoot an unwanted mark. Historical collections can deepen this understanding. The Victoria and Albert Museum”s guide to what is print offers a useful introduction to printmaking history and the different ways an image can be transferred from a matrix to a surface.
Essential Bench Tools and Safe Cutting Dynamics
A beginner”s bench does not need to be crowded with equipment. A small set of tools can support a surprising range of marks. V-gouges are useful for incised lines and controlled contours, while U-gouges remove material more broadly and can create expressive textures. A bench hook or another stable support helps keep the block from sliding. The block itself may be traditional linoleum or a softer modern alternative, and the choice affects resistance, line quality, and the amount of pressure required.
Safety depends less on speed than on positioning. Keep the supporting hand behind the direction of the blade, secure the block firmly, and cut away from fingers and wrists. A sharp tool usually requires less force than a blunt one, so regular maintenance and careful handling matter. Studio induction sessions often cover local rules for tool storage, press operation, ventilation, and cleaning. Ask questions before beginning, particularly if a press or solvent-based cleaning product is unfamiliar.
| Cutter profile | Typical width | Useful effect |
|---|---|---|
| Fine V-gouge | Approximately 1 to 2 mm | Delicate outlines, hatching, and fine texture |
| Medium V-gouge | Approximately 2 to 4 mm | Clear contours and expressive directional marks |
| Narrow U-gouge | Approximately 2 to 4 mm | Channels, highlights, and compact areas of removal |
| Broad U-gouge | Approximately 5 to 10 mm | Opening large negative spaces and clearing backgrounds |
The measurements in such a table are guides rather than strict standards. Different manufacturers shape their blades differently, and the same profile can feel substantially different in soft and firm blocks. Begin with a simple design that includes clear shapes and generous uncarved areas. A preliminary rubbing or test drawing can reveal whether the composition will hold together before extensive cutting begins.
The Chemistry of Consistency from Brayer to Paper
Inking is where the carved block becomes an image, and it has a tactile rhythm of its own. A small amount of relief ink is spread across a glass or acrylic slab, then worked with the brayer until the film is even. The sound is an important guide. Many printmakers describe the correct rollout as a quiet, distinctive velvet hiss. If the brayer feels sticky or produces ridges, the ink may be too heavy. If it rolls silently and leaves thin, broken coverage, the film may be too sparse or insufficiently worked.
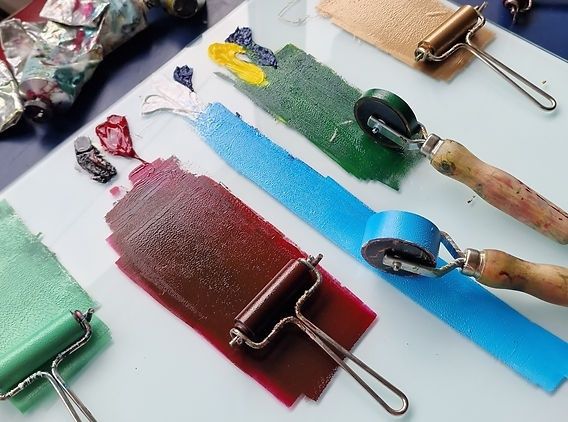
Two common problems sit at opposite ends of the process. A starved, patchy impression may result from too little ink, uneven pressure, an under-inked brayer, or paper that has not made sufficient contact with the block. A clogged, muddy print usually indicates excess ink, repeated rolling, or ink pushed into the carved recesses. Test prints are essential because they show the relationship between the block, ink, paper, and pressure more clearly than assumptions at the bench.
- Charge the brayer gradually. Spread a small quantity of ink into a thin rectangle, then roll through it in several directions. Avoid loading the tool with one thick pass.
- Listen and look at the rollout. Aim for an even film with a consistent soft hiss. Raised ridges, glossy pools, or dry gaps indicate that the ink needs adjustment.
- Make a test impression. Place paper carefully over the block and apply steady, even pressure by hand or with the available press. Inspect both the image and the border.
- Correct the balance. Add ink in small increments if the image is weak. If detail has filled in, clean the slab and brayer, then return with a thinner film.
- Protect the plate border. Keep the edges of the block clean where possible, and wipe stray ink before each impression. A controlled border makes the final print appear more intentional.
Paper choice also changes the result. Thin Japanese papers can pick up delicate textures with hand pressure, while heavier printmaking papers may respond well to a press. Let prints dry according to the ink manufacturer”s guidance and studio policy. If cleaning requires mineral spirits or another solvent, follow the studio”s ventilation instructions and use the designated disposal system rather than improvising at the sink.
The Therapeutic Rhythm of Communal Craft and Shared Presswork
Carving invites a particular kind of concentration. The hand repeats a small, purposeful movement, while the eye follows the developing relationship between dark and light. Inking adds another rhythm, one based on pressure, sound, and surface. Pulling a print requires an intentional pause before the paper is lifted. These stages can create a useful separation from hurried digital attention, not because the process removes every difficulty, but because it gives concentration a physical structure.
That focus should not be described as a substitute for professional mental-health support, yet hands-on creative activity can contribute to everyday well-being. Research on creative interventions and mindful craft has examined links between artistic participation, stress, emotional regulation, and resilience. Readers can review the available research on creative interventions, while remembering that individual responses vary and serious distress requires appropriate clinical or community support.
The communal setting adds benefits that are difficult to reproduce alone. A shared studio offers regular contact, informal learning, and a visible sense that unfinished work is normal. An artist who is uncertain about a composition can receive practical feedback without having to present a polished final object. Small habits help sustain this atmosphere:
- Ask before borrowing unfamiliar tools, and return shared equipment clean and ready for the next person.
- Offer observations about process rather than judging someone”s ability or artistic identity.
- Share useful discoveries, such as a reliable paper, a safer cutting position, or a solution to uneven inking.
- Respect drying racks, labelled work, personal space, and the studio”s cleaning routine.
- Celebrate test prints as information, not merely as failed versions of a final edition.
These habits turn a room of individual projects into a creative community. Confidence grows when technical knowledge circulates freely. A beginner may arrive expecting to remain silent and avoid mistakes, then discover that questions are part of the studio”s ordinary vocabulary. Over time, the press becomes not only a machine for reproducing images but also a meeting point for local creative life.
Claim Your Space at the Inking Table
A misprint can reveal an unexpected texture, a more energetic edge, or a relationship between black and white that was absent from the original plan. It may show that a carved line is too deep, that the paper needs different pressure, or that an accidental mark has visual potential. Treating each impression as information keeps experimentation active and makes feedback easier to receive. In a shared studio, a flawed print can become the starting point for a constructive conversation rather than a private disappointment.
To prepare for a first open-studio session, look for community print rooms, arts centres, adult-education programmes, maker spaces, and local artist-run workshops. Check whether the session requires induction, advance booking, a materials fee, or personal protective equipment. Before arriving, bring a simple sketch, wear clothing suitable for ink, and allow more time for cleaning than expected. A small first project is often the best way to learn the room, the tools, and the pace of the process.
- Start with a clear, high-contrast design rather than a highly detailed image.
- Ask for a safety demonstration before using unfamiliar cutters or presses.
- Make several test prints and record changes to ink quantity, paper, and pressure.
- Leave the bench cleaner and more organised than it was found.
- Return for another session while the first lessons are still fresh.
The first cut does not need to be perfect. It only needs to open a path into the process. Pick up a gouge, feel the block resist and yield, roll ink until the brayer finds its rhythm, and let the shared presswork carry the image onto paper. In that combination of tactile attention and collective knowledge, linocut becomes more than a technique. It becomes an accessible way to make, meet, and belong.